Welcome to the Classic Motor Show Blog: Restoration Series First Edition - MIG Welding
)
Hello everyone and welcome to the first instalment of a restoration series blog I am writing in the run-up to the Classic Motor Show 2024. I hope many of you have visited us at the Restoration Workshop stage in the past and look forward to coming back each year with questions about your restoration projects. Our stage is a place to learn about the skills we demonstrate throughout the weekend, skills we use daily while restoring classic vehicles at our workshop near Wakefield in West Yorkshire.
In this first blog, I’m going to cover a topic we get asked about a lot but sadly can’t demonstrate at the shows due to the risks from the light and heat generated during the process. If you haven’t guessed already, it's MIG welding.
What is MIG Welding?
MIG welding is one of the easiest and most popular welding techniques. If you're new to welding or just want to brush up on the basics, this blog is for you. We’ll walk through setting up and using a MIG welder, troubleshooting common issues, and ensuring your welds are strong and clean.
Simply put, MIG welding involves using a reel of wire that feeds through a torch. This wire melts using electricity and fuses metal pieces together. The speed at which the wire feeds out determines the welding current, and you can adjust the voltage to get the wire to melt just right.
Setting Up Your Welder
Setting up your welder properly is crucial. Follow the manufacturer’s instruction book closely (yes, get it out of the box and read it!). There are plenty of video tutorials online as well, but make sure you go to a legit source—usually, the company that makes your machine will have them on their website.
Common MIG Welding Questions
Here are some common issues we get asked about at the shows:
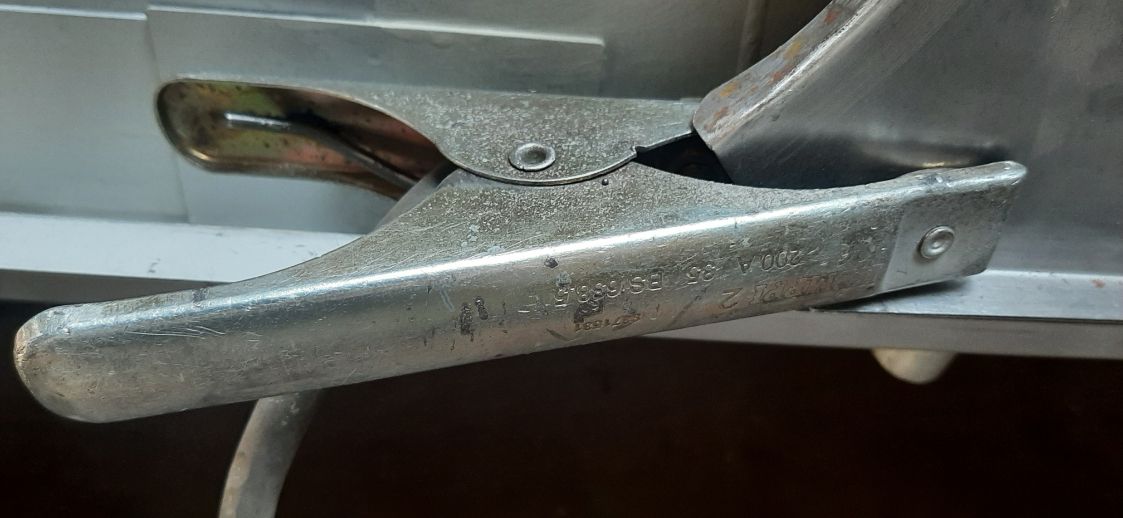
Where to put the Earth Clamp: Secure the earth clamp to a clean, dry, bare metal part of your workpiece. This completes the electrical circuit needed for welding. Try to keep it close to where you’re welding.
What is the right Tip Distance: Hold the welding tip about 5mm away from the joint you're welding. This ensures the weld is strong and stable and gives you enough space to see what you’re doing. It’s surprising how many people think they can do good welds without being able to see!
Why is my wire Hitting the job but Not Melting? : If the wire is hitting the joint but not melting, or if it's pushing the torch back, check if your earth is connected properly. If it is, the wire speed might be too high or the voltage too low. Adjust accordingly.
Why is my wire Burning Back to the Tip?: If the wire burns into the contact tip, the wire speed is too slow, or the voltage is too high. Adjust the wire feed speed or lower the voltage to fix this.
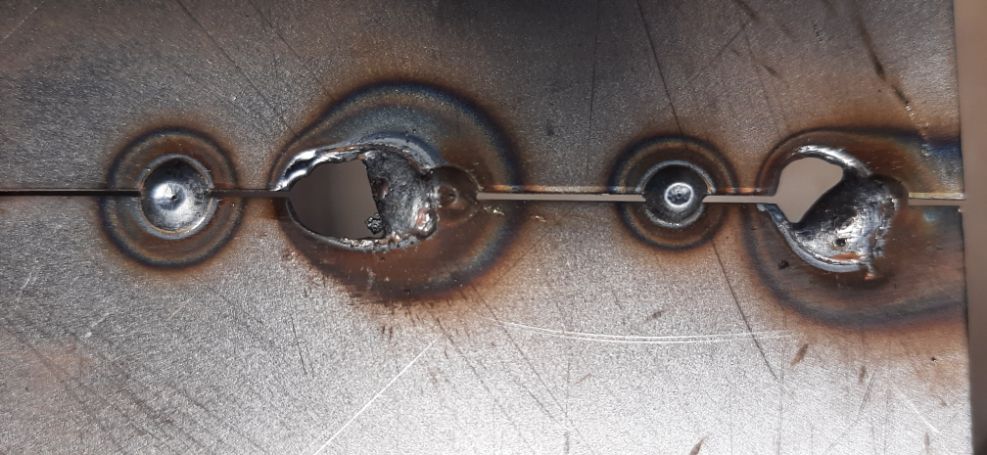
Why am I blowing Big Holes in my job?: If you’re blowing big holes, the voltage is too high or you’re not moving fast enough. Turn down the voltage, move quicker, or pulse the trigger to lower the heat build-up.
What is shielding Gas for?: Shielding gas protects your weld from the air, which can make it weak or unstable. Make sure you have a good flow of shielding gas to keep your welds strong and clean. The best type of shielding gas is a mix of Argon, CO2, and Oxygen. You can buy disposable containers (expensive) or rent bottles, which is a much better option if you’re doing a lot of welding.
What is the difference between tack Welds and Plug Welds?
When starting welding on your restoration project, it's essential to understand the types of welding joints you might encounter. There are five basic types: lap, butt, fillet, outside corner, and plug. Plug welds are the most useful when restoring most classics. Tack welds also play a crucial role in setting up your work for success.
Tack Welds: Tack welds are small welds, typically about 2-5mm long, used to hold the components of a job in position before the main welding process. These temporary welds keep the pieces aligned and prevent movement as you work.
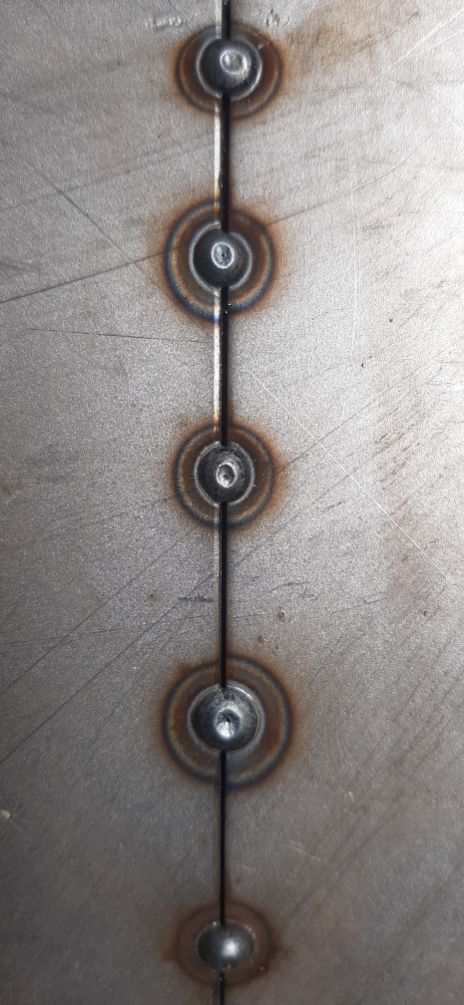
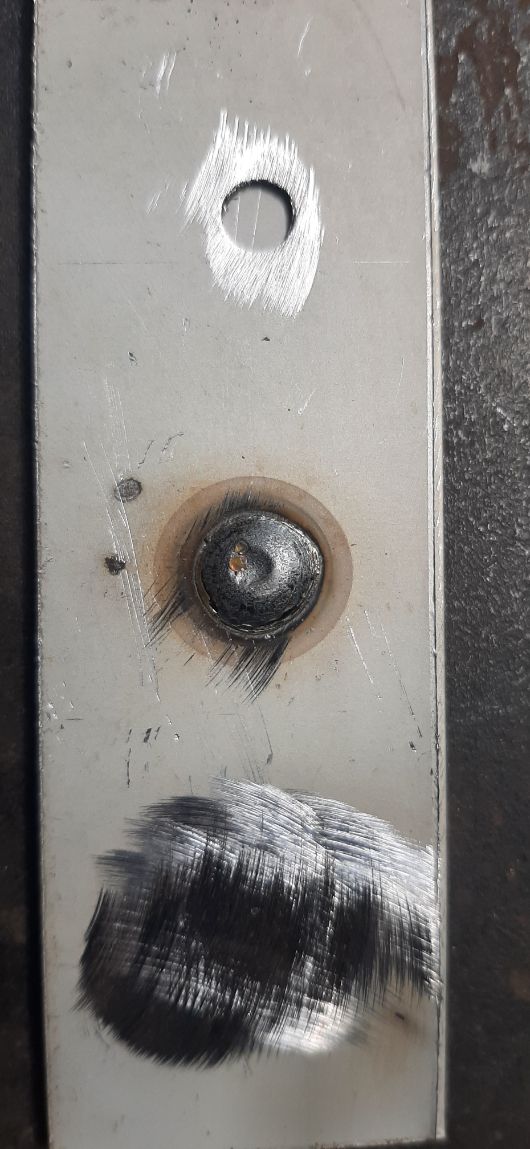
Plug Welds: Plug welding is perfect for securing new panels with limited access, especially when the original method was resistance spot welding. Start by drilling a 5-6mm hole in the outer panel of your workpiece. Clamp the panels together tightly, using zinc primer in between layers to resist corrosion. Fill the hole with a weld, ensuring you get good penetration of the weld.
Final Tips
MIG welding is straightforward once you get the hang of it. Adjust the wire feed speed and voltage, ensure everything is set up correctly, and practice regularly. If you have any specific welding questions, get in touch and I’ll try to answer them in the next instalment of this blog.
Stay tuned for more tips and tricks as we count down to the Classic Motor Show 2024! Visit the Restoration Workshop Page


